
Don’t feel bad. Even Corey Feldman has been playing Grand Theft Auto 6 all day, and admits he hasn’t made it past the first major shootout. So you might not be the only one who hasn’t survived Chapter 1 of this new video game release that has the entire country obsessed.
Our old pal Felddog took to X to share his frustration, admitting that he’s starting to wonder whether he needs cheat codes just to get through the game’s opening section. He’s giving himself the entire weekend to reach Chapter 2, which might be a little longer than some other players need. And that’s totally ok. We’re here to let you know you can go at your own pace.
His post raises a reasonable question: Is anyone else having trouble getting started in GTA 6? Well, I’m here to help.
The opening gunfights can be rough, especially if you’re approaching them like the shootouts in GTA 5. Enemies hit hard and ammunition is limited. Standing out in the open is a quick way to watch your health disappear. There are a few things players can do to make that first stretch less painful. If you do manage to get through it, there are some important things to take care of before leaving Chapter 1, Just Like Paradise. So take my hand, along with Mr. Feldman, and let’s see if we can figure this out together.
How to Survive the First Shootout in GTA 6
The first rule of GTA 6 gunfights is simple: Find cover and stay there. Concrete walls, thick trees and the engine blocks of vehicles offer much better protection than flimsy wooden fences or car doors. Bullets can punch through weaker materials. Don’t assume every object between you and an enemy is going to keep you alive.

Don’t get too comfortable in one spot, either. Enemies will try to flank you if you stay behind the same piece of cover for too long. Keep an eye on the minimap and watch for opponents moving toward your sides. If your position is compromised, move before they get a clear shot.
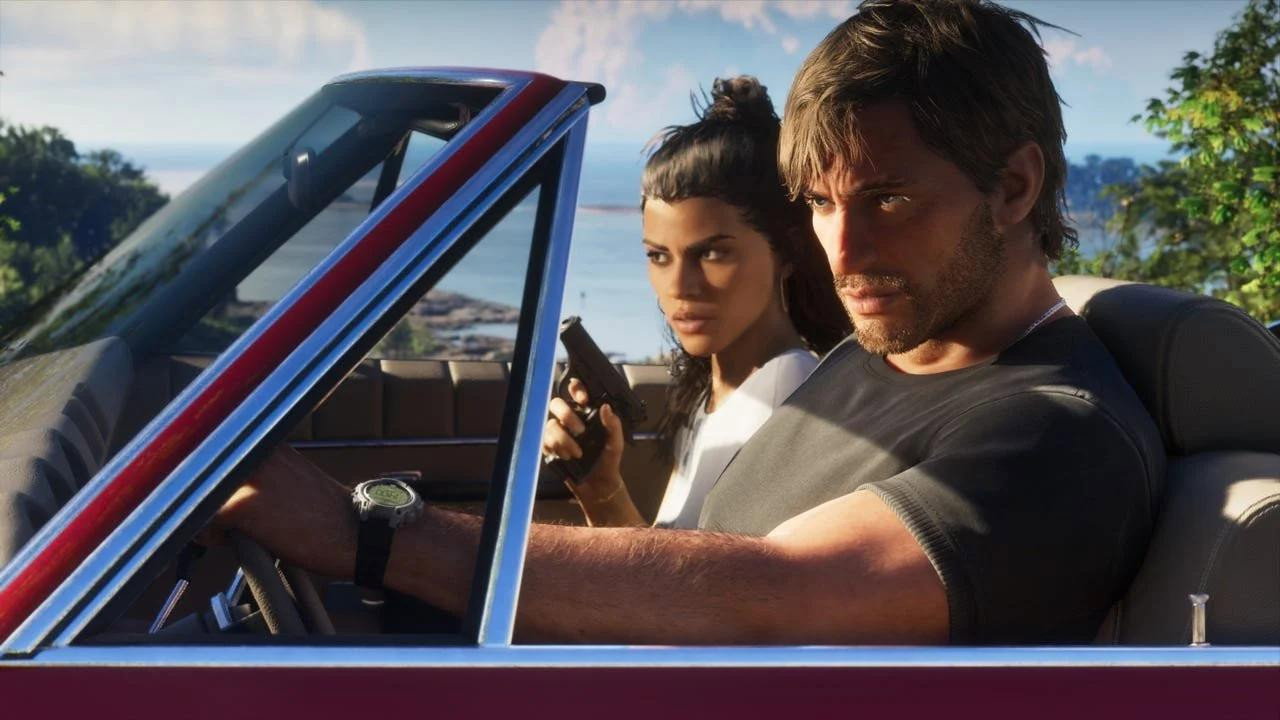
When you’re fighting alongside a partner such as Cal or Lucia, let them draw some of the enemy fire. You can use the distraction to peek out and take shots at opponents who aren’t focused on you. Just don’t spend too long admiring your partner’s work.
Ammunition is another problem early in the game. Body shots can take several rounds to bring someone down. Aim for the head whenever you have a clear opportunity. One useful trick is to aim around an enemy’s chest before making a small upward adjustment. A clean headshot can save ammunition that you’ll want later.
You can also activate Focus Mode by clicking both thumbsticks at the same time (L3 + R3). This briefly slows things down, giving you a better opportunity to line up a shot when several enemies are closing in. Save it for moments when you need to deal with multiple targets rather than wasting it on an opponent who’s already safely behind cover.
Once the shooting stops, take a moment to search the area. Fallen enemies can leave behind ammunition, cash and weapons that will help you through the early missions. Just remember that weapons picked up off the street aren’t necessarily as dependable as equipment you’ve purchased and stored.
There are a few ways to prepare before a mission turns into a firefight. Working out at Jason’s house can improve his health and stamina, while eating protein bars or getting some rest can provide temporary boosts. Completing the early Gear Up errand and visiting Ammu-Nation is also worth the effort. Purchased weapons can be recovered from your locker, even if you die and lose equipment picked up during the mission.
If the police join the party, don’t try to fight every officer who shows up. Break their line of sight and get away from the main streets. An alley or narrow side road can give you somewhere to hide until the wanted level disappears.
How to Survive the Rest of Level One
Making it through the first shootout is only the beginning. Chapter 1 has plenty of activities and missions. Players should be careful about rushing toward the end. Some opportunities disappear once the story moves into Chapter 2. Money that took hours to earn can vanish along with Jason’s car.
Start by completing both of Shirley’s favors. She needs Jason to pick up Salty Squid Rum from the Three Sheets liquor store. Then steal a mobility scooter from her neighbor. The second request requires waiting a day after completing the first, so don’t leave it until the last minute.
There’s also a meditation opportunity with Lucia. After the Down to Earth mission, she’ll offer to meditate in the morning. Accept the invitation if you’re working toward the Positive Mental Attitude trophy. Missing that opportunity can lock you out of one of the 18 meditations required to earn it.
Another easy-to-miss item comes during Brian’s request to clear out Donnie’s trailer. Check the trunk of Donnie’s car before leaving the area, because there’s a unique revolver inside. You won’t want to discover you missed it after the game has moved on.
What You Should Do Before Moving to Level 2
The end of Chapter 1 comes with a nasty surprise for anyone who has been carefully saving their money or upgrading Jason’s ride. When the chapter ends, Jason loses his car and most of the money he’s accumulated. There are ways to protect some of your progress, but you need to prepare before accepting Mattia’s offer.

Visit an ATM and deposit $5,000 into BuckMe Family Savings. That money carries over into Chapter 2, and reaching the first savings milestone raises your checking limit to $15,000. There is a catch: Money deposited into Family Savings cannot be withdrawn later. Treat it as money you’re putting away for the next chapter, not cash you’ll be able to spend whenever you want.
Don’t leave money sitting in your regular checking account. Cash in Jason’s wallet and the stash under his floorboard can also be lost. The same goes for money left in his regular bank balance, so move what you want to keep into Family Savings before the chapter’s final stretch.
You should also avoid spending a fortune modifying Jason’s car. It’s gone when Chapter 1 ends, and vehicle registration doesn’t become available until Chapter 2, after the Moses mission in Port Ghorn. Save the expensive upgrades for a vehicle you’ll actually get to keep.
Weapons, clothes and tattoos are safer places to spend your remaining cash because those purchases carry over. If you lose an owned weapon, check the locker at a gun shop to reclaim it. You can also hold off on major robberies and drug-location scores until Chapter 2 rather than collecting money that may disappear when the story moves forward.
Finally, make a manual save in a separate slot before starting Tourist Trap. After the yacht party, Lucia will ask Jason whether he’s ready to take Mattia’s job. Accepting the offer moves the story toward the end of Chapter 1 and its final missions. Once you pass that point, you won’t have the same freedom to explore the opening chapter.
GTA 6 doesn’t offer a mission replay menu, so keeping a separate save gives you a way to return to earlier moments if you missed something. It could save you from having to replay a big chunk of the game just to recover an overlooked item or finish an activity.
Corey Feldman has the whole weekend to get through that first shootout. Hopefully, he finds a decent wall to hide behind before then. The rest of us might want to take a little more time with Chapter 1, too. Reaching Level 2 is great, but losing a pile of cash and a customized car on the way there is a pretty lousy reward.